

I googled "How to can strawberry jam" and came up with multiple sites that I had to flip-flop through in order to complete the job. I really needed clear and concise step-by-step directions on how to can jam with pictures. I am a visual learner and can't function without photos. I couldn't find them. So - here they are!!
Canning Strawberry Jam

YOU WILL NEED:
Food needed:
8 cups fresh picked strawberries
6 T. pectin (or one box)
7 cups rapadura sugar (or white)
Tools needed:
Soup ladle
Canning funnel
1 large canning pot
1 large pot (for strawberry mixture)
Plastic or metal canning rack
Large Metal Tongs
Step-by-Step Tutorial
1) Eat something. Otherwise you will eat all your strawberries and won't have any left for the jam ;)


2) Clean and sterilize all your jars, rings and lids. Keep in mind you can re-use rings and jars, but the lids have to be brand-spankin' new in order to have an effective seal. Throw your jars in the dishwasher, or you can toss them in your water bath to simmer until you are ready to fill them up with jam (do not boil). The lids and rings should sit in water on simmer (do not boil) until you are ready to pull them out and seal the jar.

3) Get all your supplies ready. You will need pectin, a huge pot for boiling the jars of jam, jars, rings, unused lids, and that fancy green thing for dropping the jars in the hot water. I made 2 batches of jam. That little jar of pectin was only enough for 2 batches (it was equivalent to two boxes of pectin). Each batch of jam was 8 cups of uncut strawberries and yielded 6 cups of jam.

4) Wash your freshly-picked strawberries 8 cups at a time. (Don't do more than 8 cups per batch.)


I used my food processor to chop the strawberries.

But be careful not to puree them!!

6) Measure out 7 cups of Rapadura Sugar (white sugar is okay too). Scoop 1/4 cup of sugar into a small bowl. Add 6 tablespoons of pectin (or 1 box of pectin) and stir. *If you are using the low sugar pectin, you only need 4 cups of sugar.

7) Pour the chopped strawberries in a large pot on the stove and turn the heat to med-high.


9) Turn the heat down a little. Pour in your rapadura sugar and slowly bring it to a full boil. The slower you boil, the less foam will form on top.

10) Let it run a full boil for one minute and then remove it from the heat. Skim off any foam that sits on the top. (My jam is so dark because rapadura sugar is unbleached, unrefined dehydrated cane sugar juice. Since rapadura is a more expensive sweetener, I will be doing the low-sugar pectin next time!!!!)

11) Your jars should be in the canning pot in a simmering hot water bath. Remove one from the bath, pour the hot water back into the pot and place the wet jar on a towel.
12) Put the canning funnel on top of the jar and ladle your hot strawberry jam into the jar. Leave about 1/4 inch of space at the top (or if you are measurement-impaired like me, make it an inch and call it a day...)

13) Wipe the rim of the jars with a warm towel after you are done filling them. You do not want anything to prevent the ring and lid from sealing properly. It's a messy process!!

14) Remove a hot lid and a ring from your simmering water. Place the lid on the jar and then the ring and tighten.
15) Repeat Step 14 until all the jars are sealed!
16) Place the jars in your plastic or metal rack and gently place in the hot water bath and check that the water is at least 1 inch above the lids.

17) Cover the pot and bring it to a full boil. Boil for 10 minutes. If you use a smaller pot like I did (I just used my spaghetti pot), you will need to adjust the heat down as the water boils to ensure that the water doesn't bubble over and out.

18) Take a brief break to check that the kids are okay...

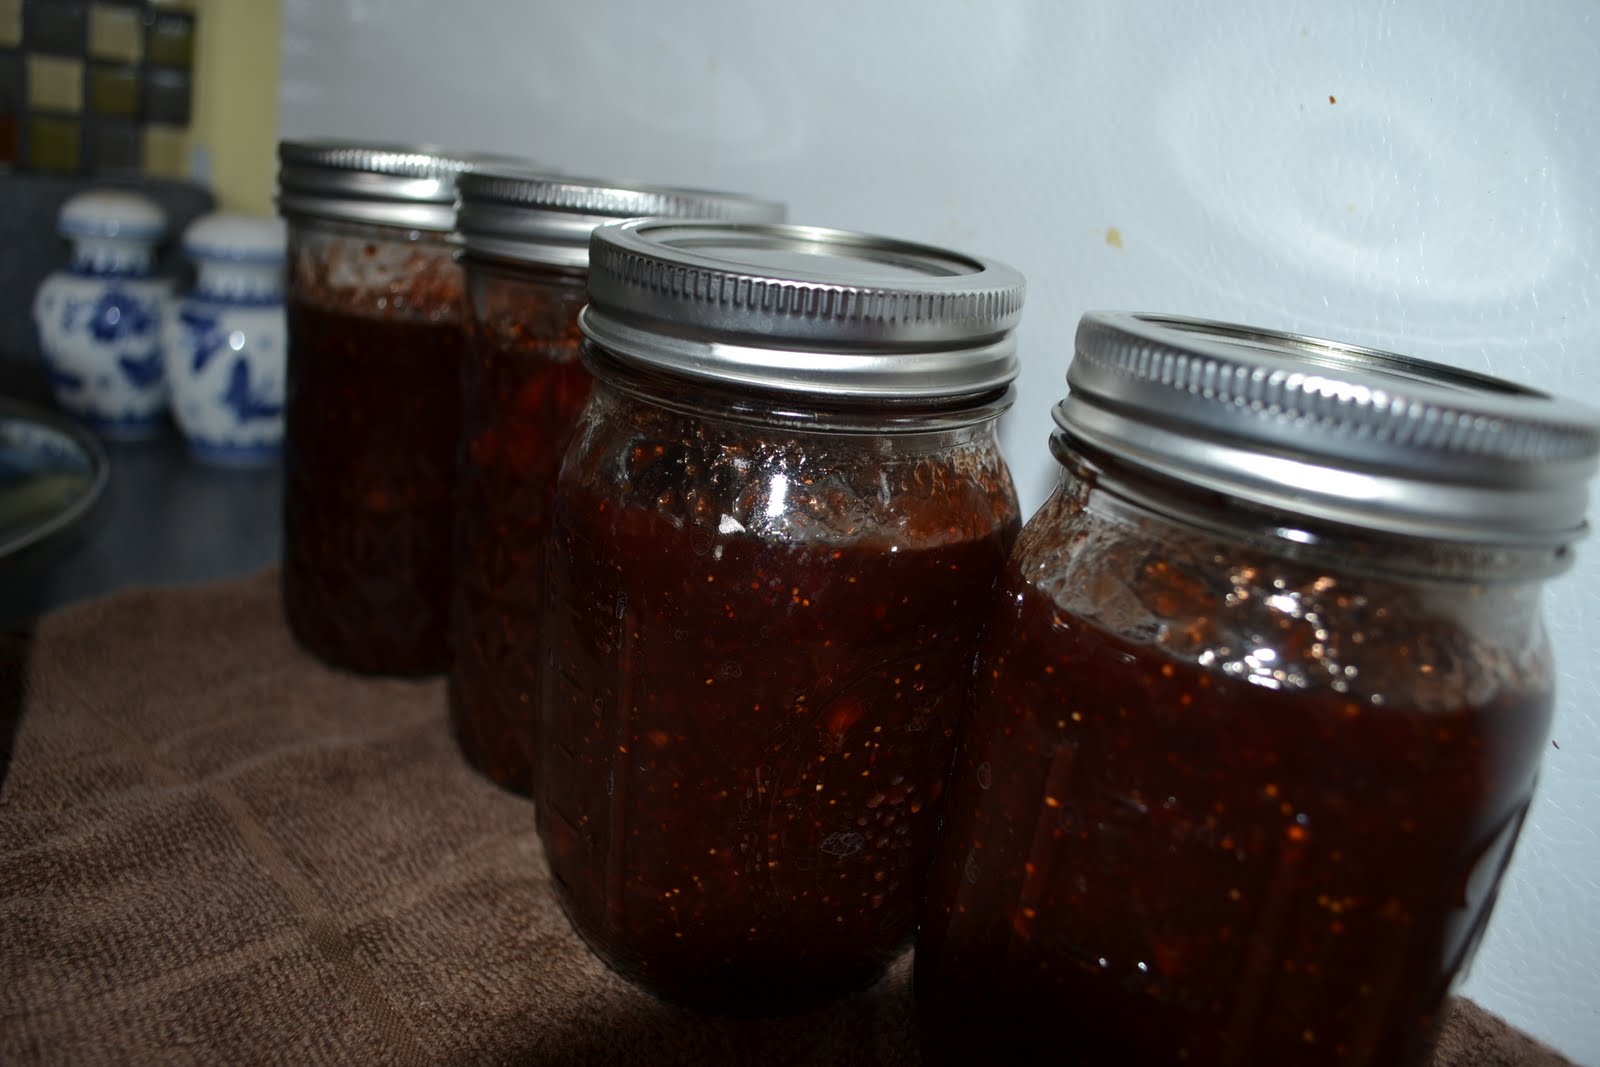
19) After 10 minutes, remove the cover and turn off the heat. Let the jars sit in the hot water for 5 more minutes. Then pull the jars out and set them on a towel.
20) Leave your jars to sit out for 24 hours in a draft-free place. After 24 hours, check your lids. They should be flat and tight. If they aren't, just move them to your fridge to eat first! Store the rest in a cool dark place :)
21) ENJOY!!!!!!


If you want a great tutorial without any pictures try Country Home Cannings' Strawberry Jam Instructions.
This blogpost was shared on Simple Lives Thursday at Gnowfglins!
Love this! Thanks for the step by step. Break time looks like fun ;)
ReplyDelete